


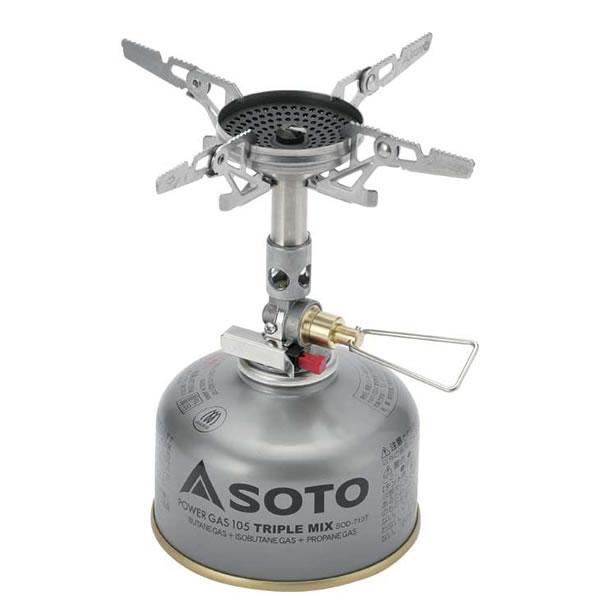

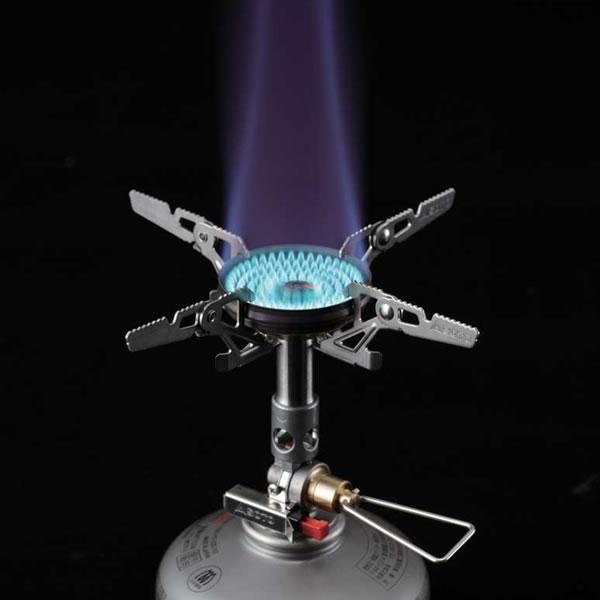
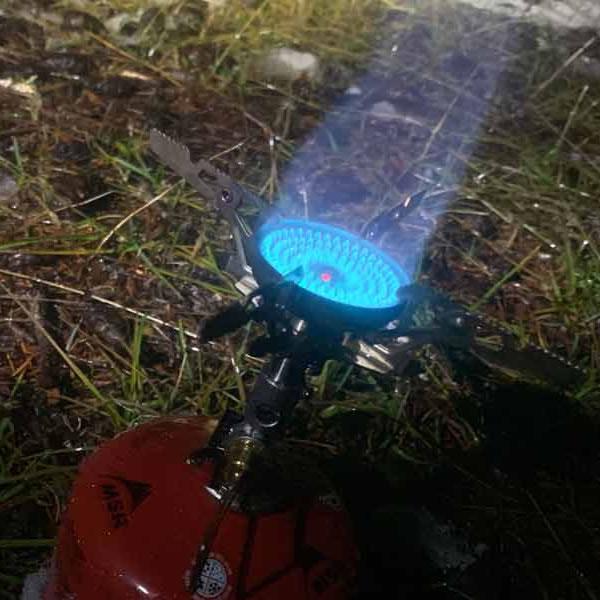
Frigid chilling winds? No problem. Meticulously engineered and crafted, the Soto Windmaster Hiking Stove out-performs its competitors under windy conditions. On a stormy, blustery day, the Windmaster is able to maintain a strong flame. Tired. Cold. Hungry. Wind is blowing 3m/sec. No worries with the Windmaster! Hot meal coming right up. Designed to position the pot close to the burner head, it is nearly impossible for wind to penetrate this stove's flame.
Features and Specifications
- Maintains a consistent output
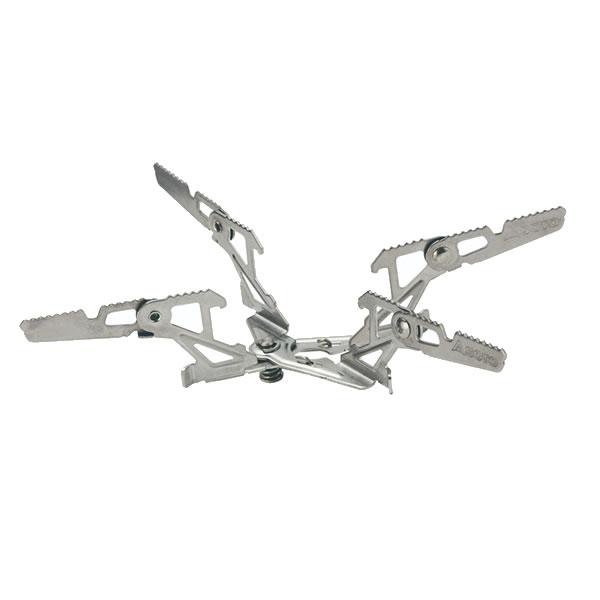
- Ultra lightweight, 87 grams with 4 flex design, 67 with 3 flex design
- Shock Resistant: Stealth igniter installed burner post improves ignition and prevents breakage.
- Made in Japan
- Weight: 87 grams with 4 flex pot support
- Output: 2800 kcal/h 3260w 11000 BTU
- Duration: Burns approx.1.5 hours with 8 oz.(250g) canister
- Dimensions: 4Flex (Stowed)1.9 x 3.0 x 1.7 inch (47 x 77 x 44 mm)
How to clean off Burned on Food from the Windmaster Stove Burner Head:
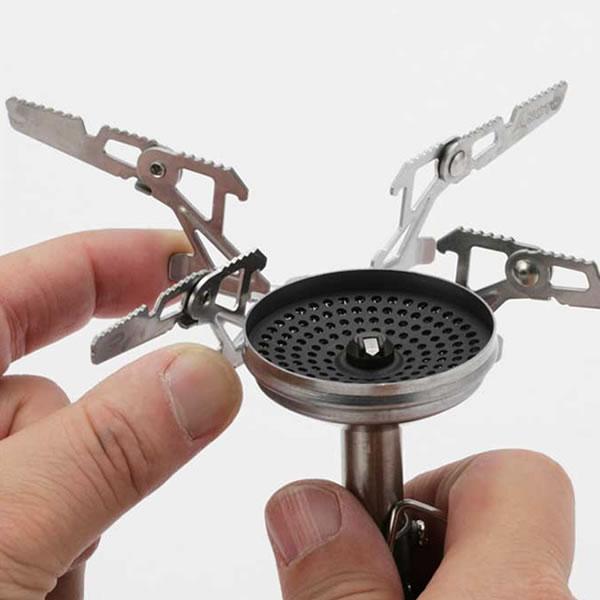
- Unscrew the screw holding the burner head and the regulator valve base unit. It is the screw securing the air pipe and the base unit.
- After unscrewing the screw, twist the burner head very slowly to disengage the air pipe from the base unit.
- Carefully separate the burner head from the base unit. Notice that the burner head is attached to the portion of the air pipe.
- Note a dark brown heat-resistant plastic coated pipe inside the air pipe that is attached to the burner head. Be careful because this pipe is quite sensitive and fragile.
- Place the burner head unit into warm water for several minutes. After the spilled food has softened, use a soft brush, such as a toothbrush, to gently clean the burner head. If a hard wire brush is used, the mesh located inside the burner head will be destroyed. Be sure to use a soft brush when cleaning the burner head..
- Repeat this process several times, until the burner head is free of food or burned food.
- Allow the burner head to dry naturally by sitting out for several hours. To speed up the drying process, a hair dryer may be used.
- Reassemble the burner head unit: The igniter electrode is located inside the air pipe on the regulator base unit. Insert this electrode into the brown plastic sleeve gently and carefully. Then, connect the burner head pipe and the female pipe that is part of the regulator base unit.
- Using the same screw, tighten both units to secure.